
I’m so excited, and kind of honored actually, to share this table makeover with you today. As I’ve mentioned recently, I’ve been working on a very special project.
A dear friend of mine, who is prominent interior decorator in town, approached me about a project she has great passion for. She is working in conjunction with our local home magazine doing room makeovers for deserving people in our community. The project is intended to offer hope for those who have gone through difficult times and is appropriately named the “Room of Hope”.
I have had the privileged of doing custom furniture painting and refinishing for her and her clients in the past. So she has seen, first hand, what can be done with thrifted or tired furniture. She asked if I would be willing to donate a table to this makeover.
Of course, I loved the idea and immediately said, “Yes!”. As soon as we got off the phone I went straight to Craig’s List to find the exact size and shape she requested. Providentially, there were several candidates that fit her requirements.
Here is the table I purchased for the space. Specifications: No larger than 42″, round and pedestal.
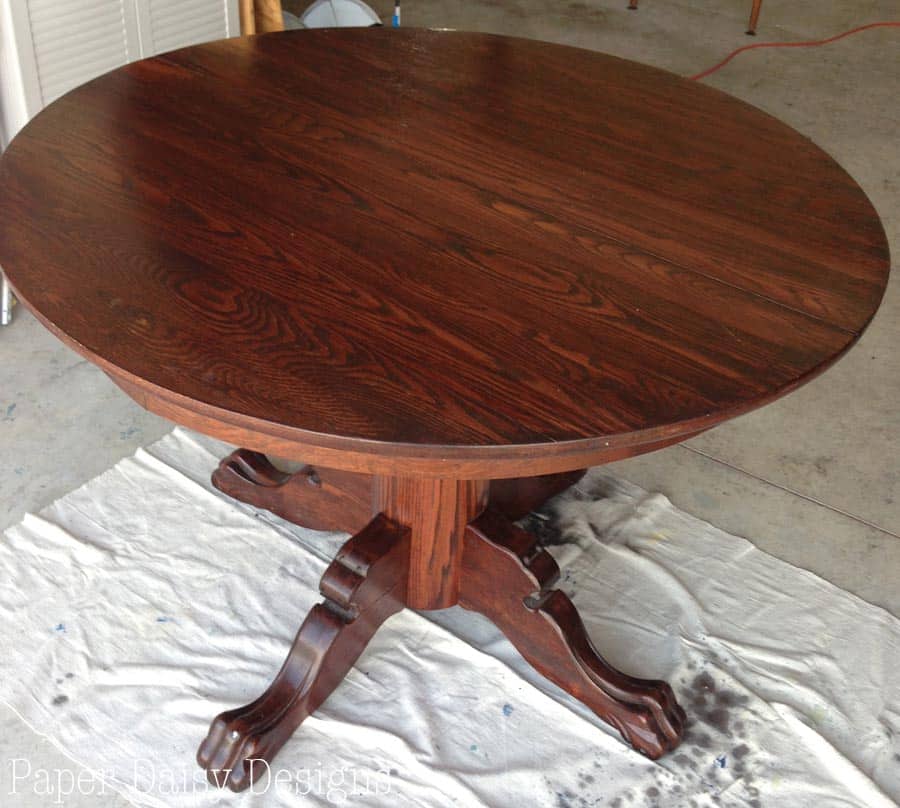
Pretty good find if you ask me. The seller said it had been recently refinished and it didn’t look too bad, but I wanted it to be a nice dark finish to go with the other elements in the room makeover.
I began by stripping the top. I forgot to take a photo of this extremely messy step. Probably because my hands were in gloves, covered in glop!
But after several applications, scrapping, scrubbing with steel wool, cleaning with mineral spirits, and a quick sanding it looked like this.

A little more sanding and it was ready for my very favorite stain color, Kona by Rustoleum.

In hindsight, I probably should have sanded a little more. After the first coat of stain you could see it was little blotchy. Maybe it was due to the table being oak, but it also could have been uneven sanding.
After another coat of stain, I thought it looked really nice.

I painted the legs and the skirt of the table with DIY chalk paint using Maison Blanch by Sherwin Williams. If you’ve seen my painted makeovers before you know that I do prefer to use Annie Sloan Chalk Paint, but I didn’t have time to place an order and have the piece done in our short deadline.
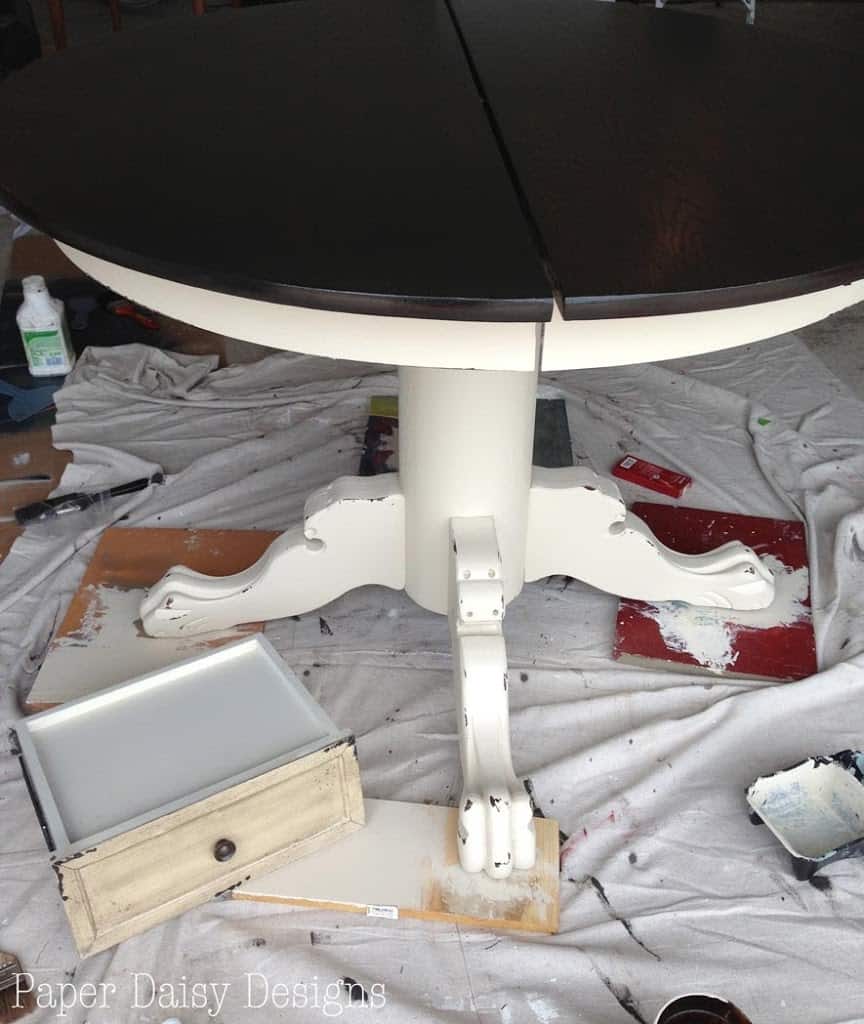
I picked up the drawer of the freestanding island the decorator was adding to the space as a guide for the finish. As you can see the drawer is a good bit warmer and has a greyish glaze.
To achieve that finish, I used a combination of a brown glaze with black acrylic paint added in, clear Johnson’s Paste Wax and Annie Sloan Dark Wax. I generally just add a glop of dark wax into an almost empty can of clear wax and just grab what I need with my wax brush.
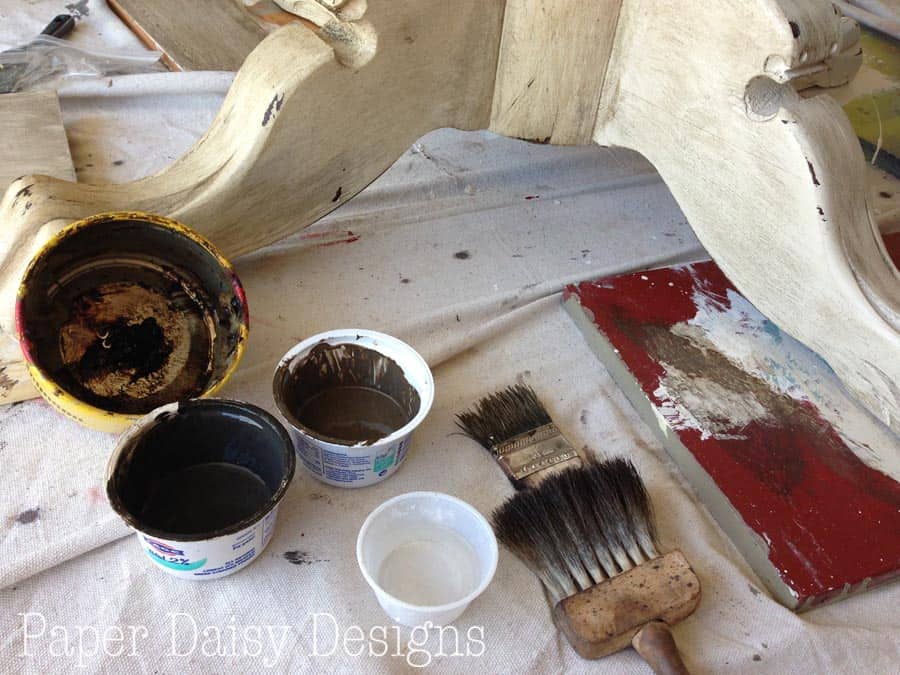
I dry brushed on the glaze and wiped some off with a damp rag if necessary.

I followed the glaze with a mixture of clear and dark wax. Once that dried I applied another coat of clear wax and buffed well with an old, clean t-shirt.

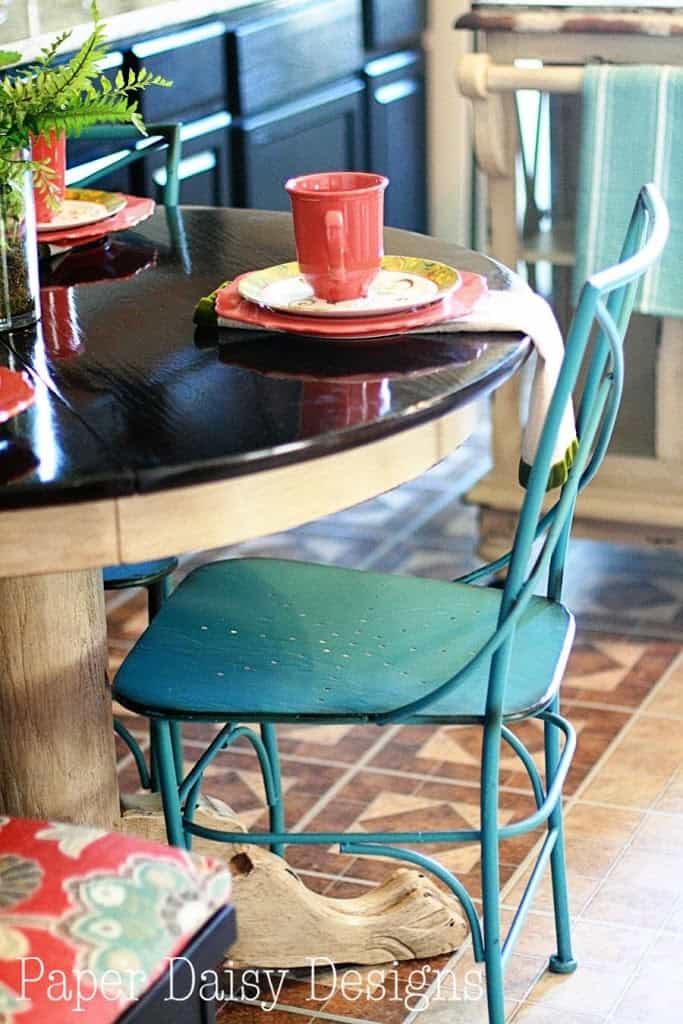
For the top coat of the table, I used Minwax polyurethane in a satin finish. I wanted a durable finish because the “Room of Hope” makeover recipient has two small children.

I must admit this is the first time I’ve used that product, because I love the Minwax Wipe On Poly, also in a satin finish. While I prefer the hand rubbed look, the finished table top certainly had a shine that photographed well in the reveal.
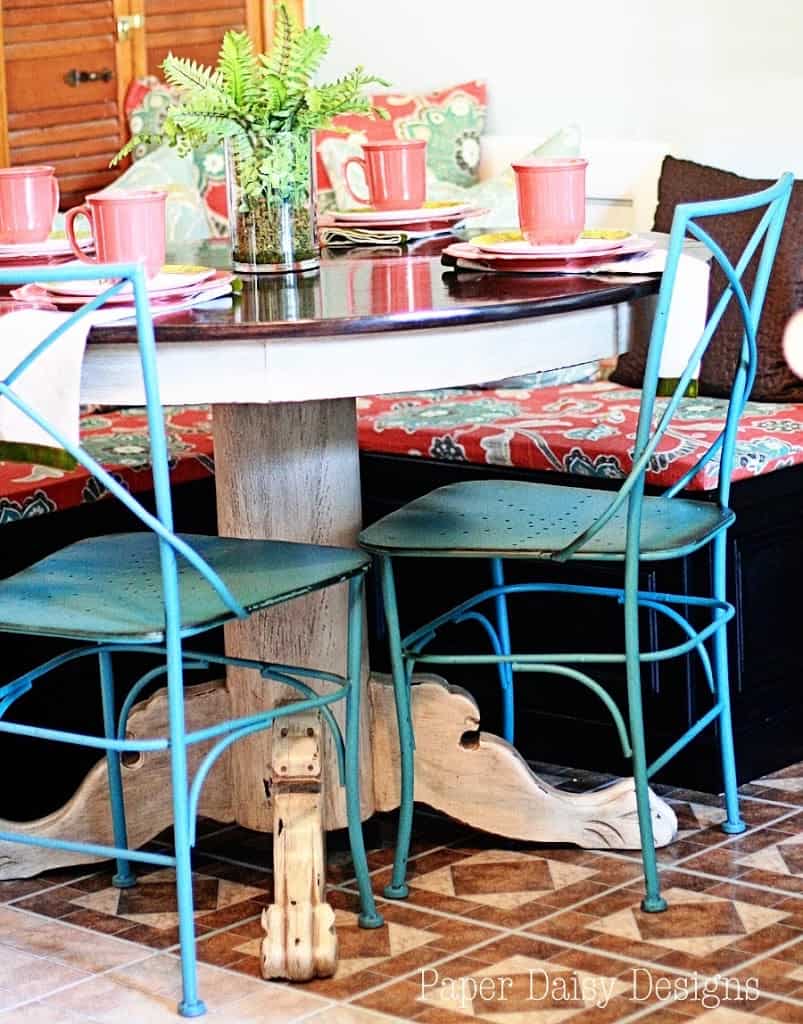
Here are a few more photos of this area of the room.
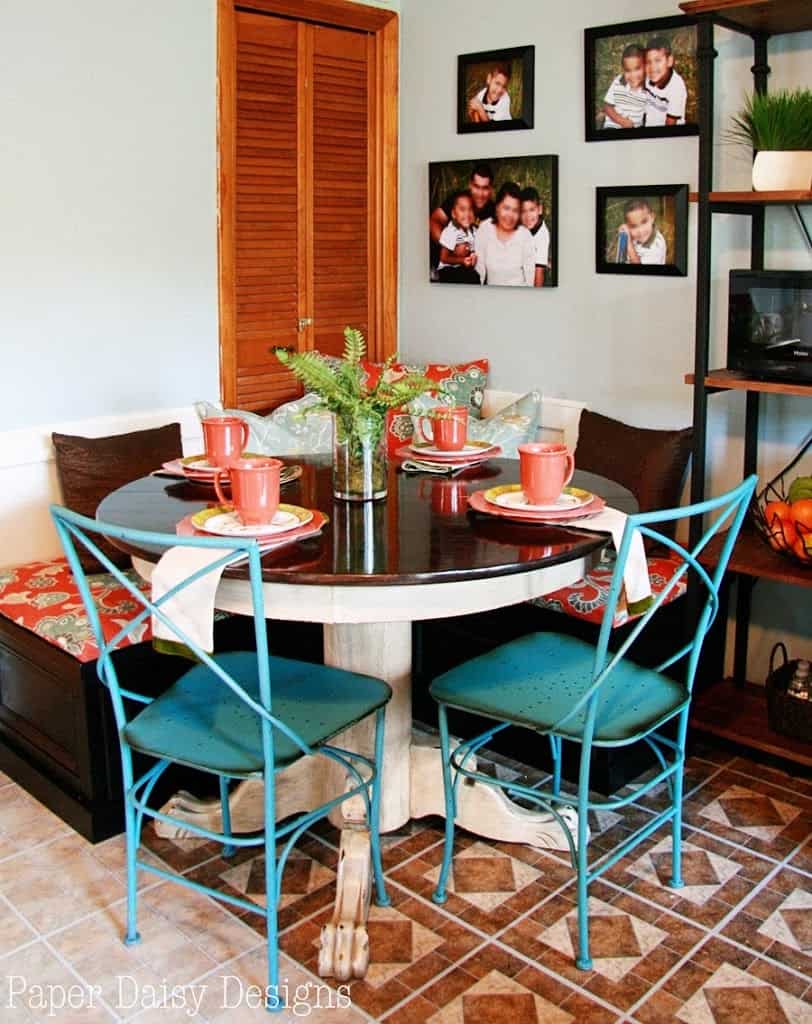
My decorator friend designed and had a banquet built to make this tiny space functional with extra storage and cozy with pillows and cushions.
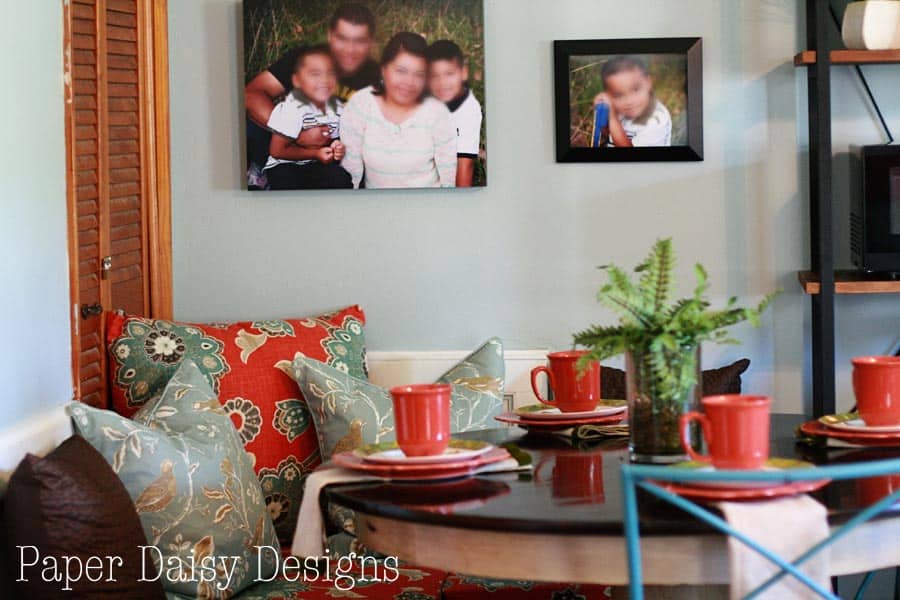
I think it’s so warm and inviting. I just love this spot. And those chairs! Could they be any cuter?
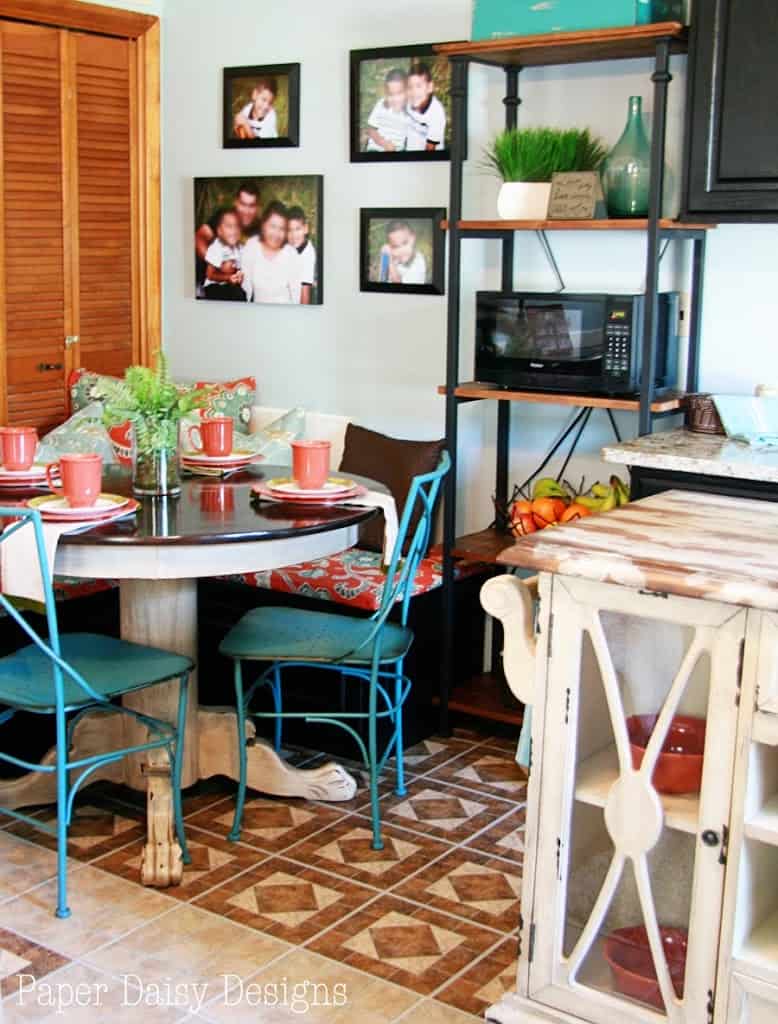
Here’s just a little more sneak peak into the room. You can see the island and the finish I recreated.
I’ll be back tomorrow with the rest of this space, the heart warming reveal and the recipient’s reaction. It was such a rewarding experience to participate in and witness first hand. I also want to share my feelings about what this little table makeover meant to me as well.
Updated: Please see the complete makeover and reveal of the “Room of Hope” here.


5 Comments
Bobby Hamm
September 13, 2013 at 4:05 amThat table looks gorgeous! And you are so lucky to have been included in such an amazing project!
Becca Diestelkamp-Woodham
September 13, 2013 at 7:01 pmLove it! What a great redo. And I love the blue chairs with it. Thanks for sharing! Stop by my Friday's Five Features and link up this post (and others)! diy-vintage-chic.blogspot.com/2013/09/fridays-five-features-no-8.html
Donna Wilkes
September 18, 2013 at 12:57 amHow exciting to be a part of a project like this. You did a great job matching the distressing on the table base to the island.
Sharon @ Elizabeth & Co.
September 23, 2013 at 1:33 amBeautiful transformation! And what a great project!
Zuni, Chickadee Home Nest
September 25, 2013 at 1:33 amWhat a great opportunity for you, and what a gift for them, because your table is beautiful! Great!!!