
A few weeks ago, I mentioned the furniture piece I was working on for another Room of Hope project. This time, the recipient was a cardiovascular patient and mother of twin 9 year old boys with special needs. Once selected, the mother asked for the room makeover to go to her boys. Little did she know there was still a surprise in store for her. I’m going to post each room separately so be sure to stop by for the next few days.
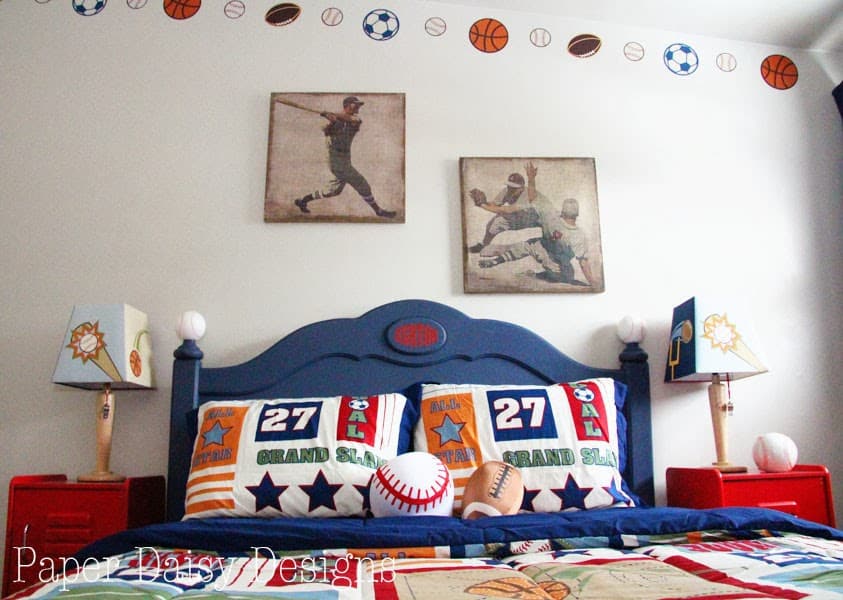
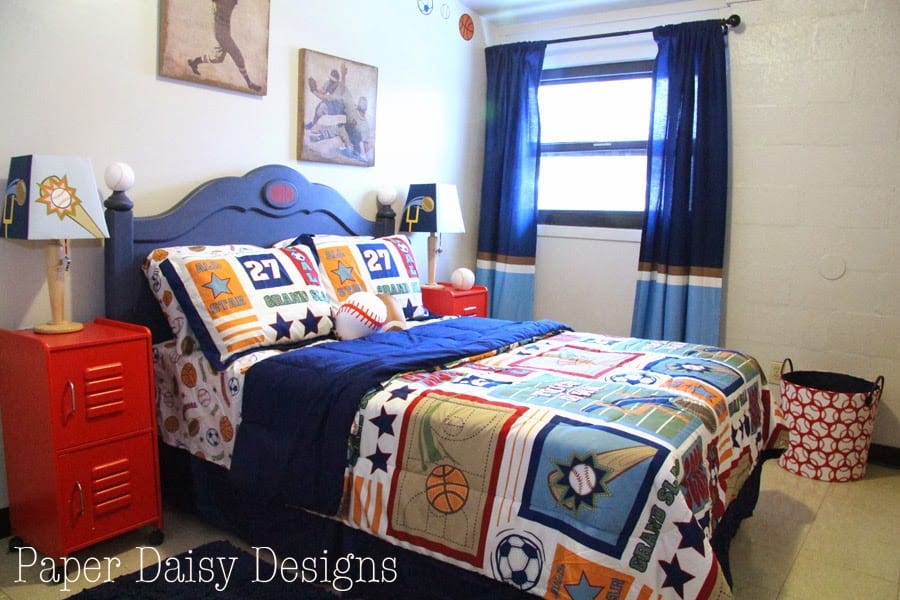
One boy wanted a sports themed room with a focus on his favorite sport, baseball. Sherry Hockman, of Hockman Interior Design, asked me to custom design a headboard centered around a baseball theme for his room. As fate would have it, I had the perfect candidate sitting in my garage. I had picked it up at Goodwill to use on different project, but we knew the large round posts were screaming to become baseballs.

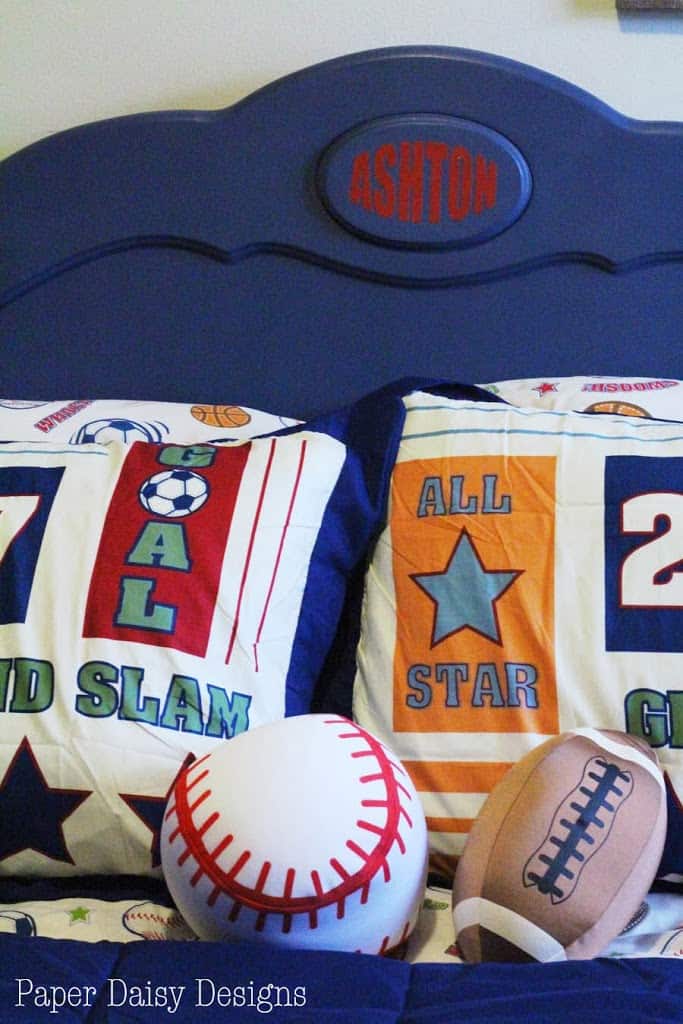
I had always intended on covering the wheat panel with spackle. It was my daughter who came up the idea of adding his name to the panel once it was smooth. That clever girl!
Here’s the technical data on how I applied his name to the headboard.
I used Adobe Illustrator to lay out out his name in a simple font. Using the extrude command, I expanded the letters to fit inside the oval. I’m sure there are other drawing programs that will let you do this. Then, I exported the file as a dxf and opened it in the Silhouette Cameo. Because I’m cheap, I used contact paper as my stencil medium. It actually works fine in most applications.
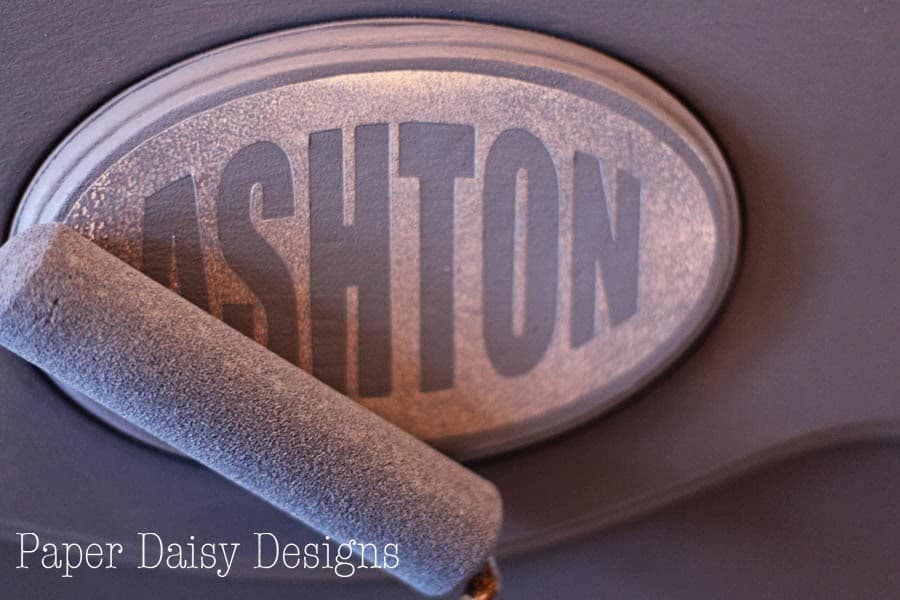
To avoid bleed through, I primed the stencil with the blue I used on the headboard. Once it was dry, I used a foam brush to apply the red.
I must admit I was probably a little overconfident about my ability to transform the round posts into baseballs. My first attempt to hand draw the stitches with a red sharpie was less than stellar. I’ll suggest to you that using a Sharpie on a paint project is not a good idea. When you make a complete mess of it and need to start over, the Sharpie bleeds through the paint. I literally had to sand off the Sharpie and the paint to get a clean slate.
My next idea worked pretty well. I remembered I had an acrylic stamp t that looked like baseball stitches made by Technique Tuesday.
In order to help me keep the stitches going around the “ball” correctly, I taped flexible, tacky cording to the ball.
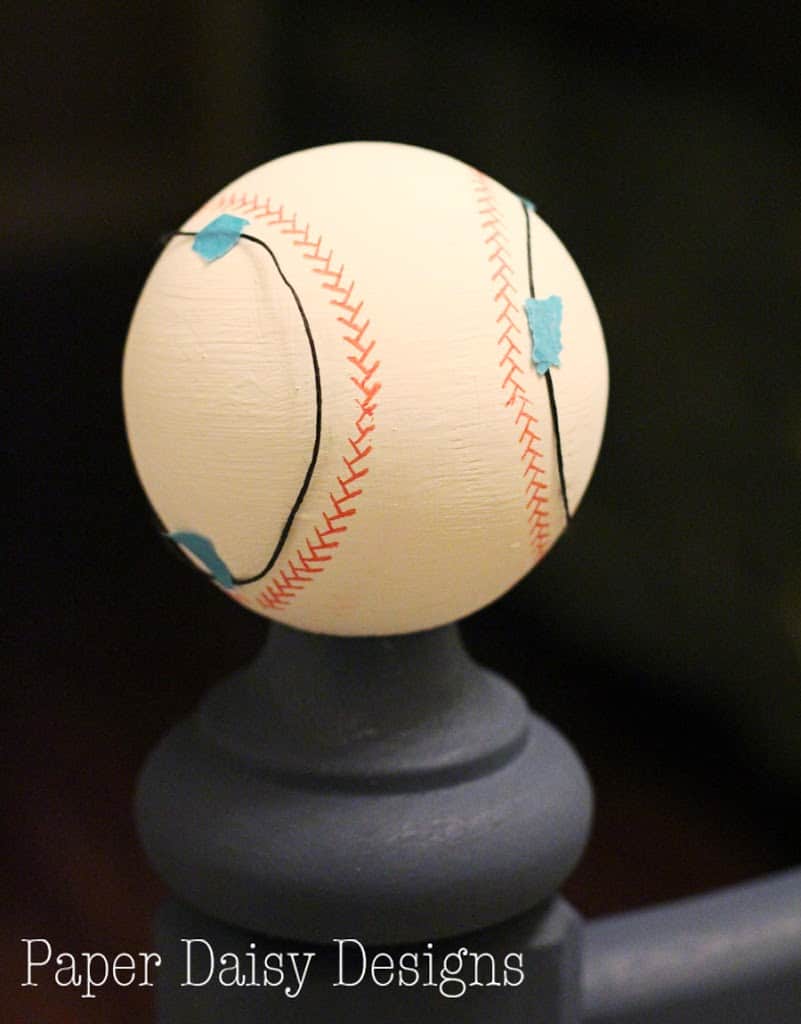
Using a small acrylic block I just rolled the stamp along the ball and repeated enough times to go around the ball. It’s not perfect, but it certainly looks better than my hand drawn version. 😉
Once I got the hang of rolling the stamp, I repainted the post again and gave it one more go. I used a heavier hand to roll the stamp and the acrylic spread out more to make the stitches larger. Here’s a finished close up I took while it was still in my foyer.

I used Annie Sloan Wax as my top coat and gave it a good buffing the next day.
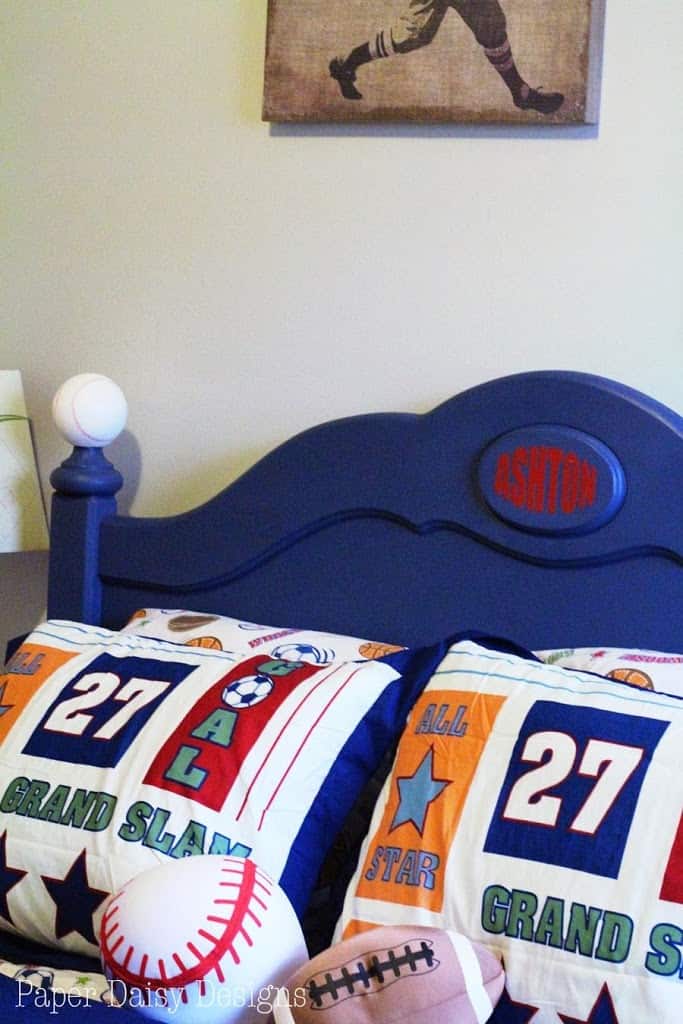
Here’s a look at the headboard in the Room of Hope. Sherry really wanted to paint the room, but the landlord wouldn’t allow it. I think it is a fun room with enough classic elements to last him a very long time.
The best part of the whole project was seeing Ashton’s reaction to the room the next day. He was so thrilled.
Stay tuned the rest of the week and I’ll share the other rooms and the link to the video of the whole family’s heartwarming reveal.

The Room of Hope is an ongoing partnership between Hockman Interior Design and Columbia Home Magazine. This is just one of the room transformations featured in the February/March issue.


1 Comment
stitchinkitchen
April 6, 2014 at 7:27 pmthat ball on the headboard is very clever!