
While DIY floating shelves are by no means a new concept, the building of one that has no visible joints, therefore seamless, is not typical.
 I think this is because most floating shelves are hung high enough on a wall that the butt joint or seam where two pieces of wood meet is not visible. Or it could be that the shelf is going to be painted, then paint and wood filler does a fine job of hiding the seam.

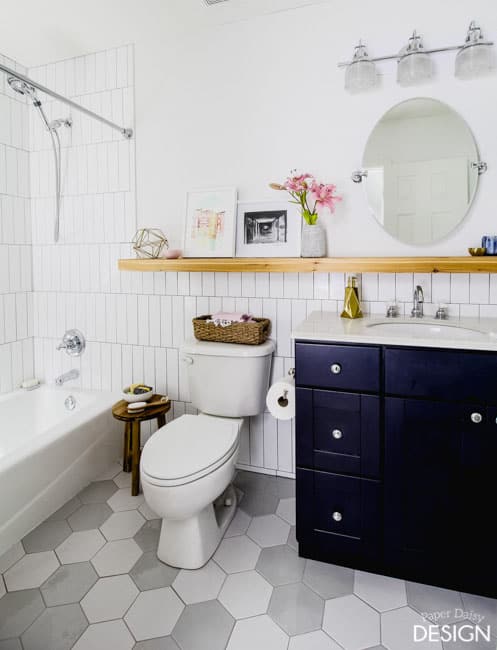
But the floating shelf in our daughter’s new bathroom is completely visible from the top and would not be painted, so I wanted to find a way to build a floating shelf a little bit differently.
I wanted the finished product to be more solid and appear to be one thick piece of wood or a small beam. I did not want a visible joint to disrupt the beauty of the cedar wood.
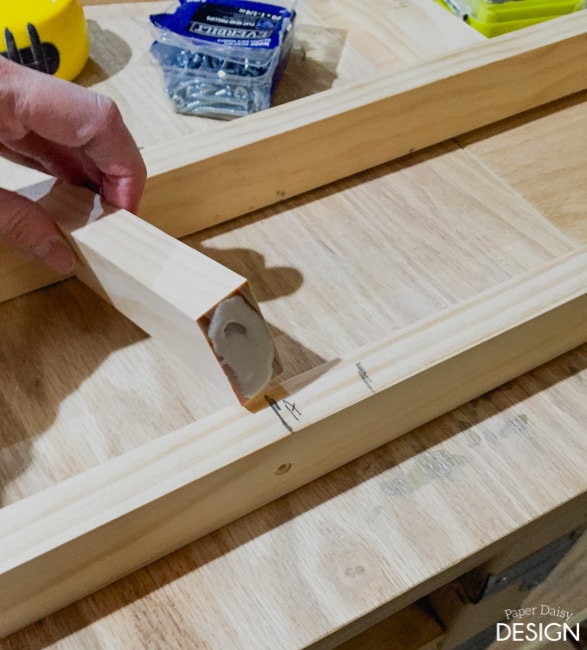
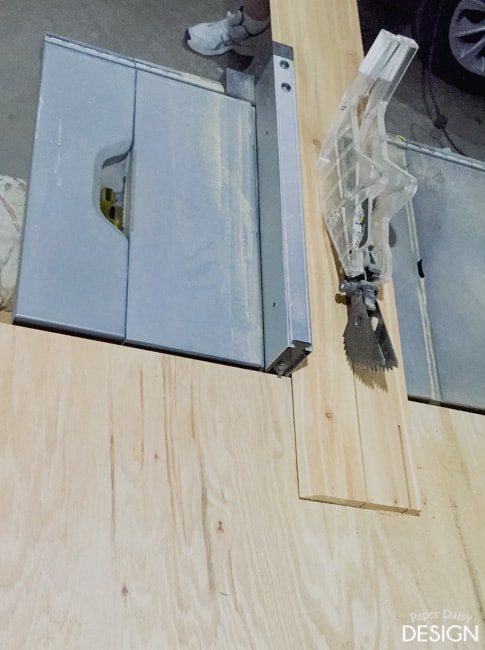
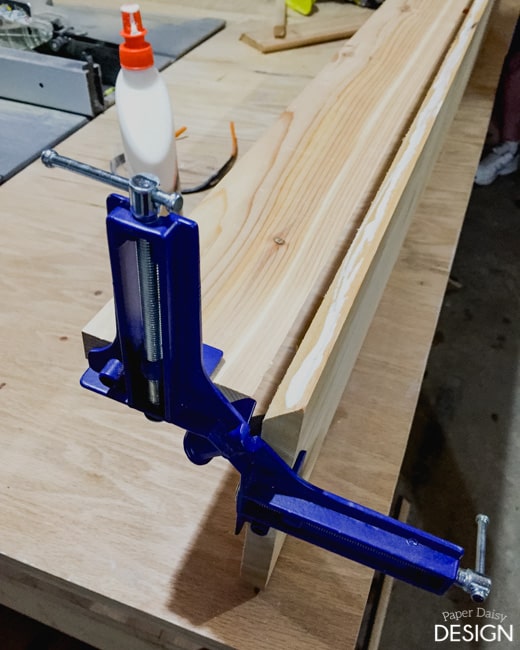
To achieve the look, all that really needed to be modified from the standard floating is to make a handy little adjustment on a table saw. We simply tilted the table saw blade to a 45 degree angle. This created a miter cut for the edges of the top and front pieces of the shelf. Obviously, if your shelf is visible from more angles you can continue the mitered edge around the shelf as needed.

I must admit I had never used the miter feature on my table saw before, but found it to be pretty straight forward and simple to do. I definitely continue to learn more about wood working as I go and as my designs lead me. Always growing and learning; that’s the key, right?
Build a “Seamless” Floating Cedar Shelf
The wood of choice for this project was “select cedar” because of it’s inherent ability to remain stable in high humidity applications. The soft wood grain and warm tones are also quite beautiful. The shelf was also going to be longer and wider than the less expensive option of cedar fence board. If budget is a concern for your project and size is not as important, I would recommend untreated cedar fence boards as I have used in other wood projects, with extra care taken to sand and finish both sides it’s amazing how good a fence board can look . You can see projects using cedar fence boards here.
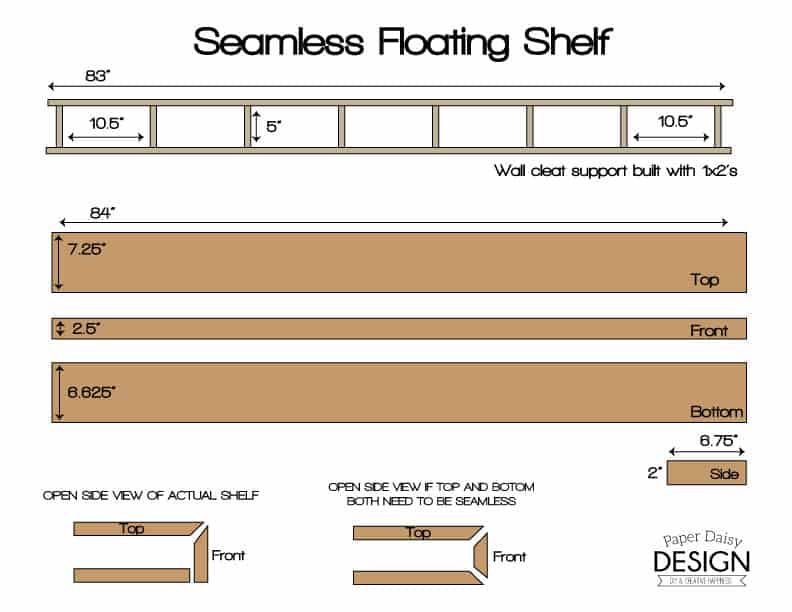
Here’s a look at a sketch of our shelf plans and diagram. Click on the actual diagram for a download of the printable PDF.
Did you know that you can order your items online at The Home Depot.com in advance and just pick them up at the service desk?
Materials Needed
(Affiliate links below provided for your convenience.)
Wood glue
1 1/4″ wood screws
2″ screws for attaching cleats to studs
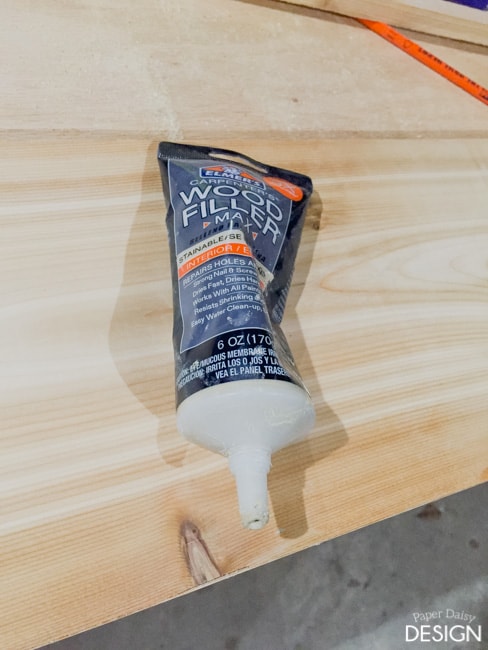
Wood filler
Sandpaper
Wood finish
Suggested Tools
Table saw with blade tilt option
4-6 foot level
stud finder -this one is our favorite
(2) 90 degree clamps
Steps For Building the Support Cleat
1. Determine the final depth and length of your cedar shelf. The shelf we built was 7 1/4″ deep and 84″ wide. This spanned the length of the bathroom wall, up to the tile of the tub surround. (See diagram.)
2. Find and mark the studs on your wall. Notate these measurements on your cleat board to avoid placing arms in the same location of the studs.
3. Using 1×2 lumber cut the wall support cleats 1″ shorter than the final length of your shelf. In this case, that was 83″. You subtract the 1′ to allow for the sides of the finished shelf to wrap around the cleat. Basically it looks like you are building a ladder like structure. The “back of the ladder” will become the cleat to attach to the wall. The front just provides extra stability.
4. Cut the arm or rungs of the wall support. The boards should fit inside the front and back rails of the cleat. For our shelf that measurement was 5″.
5. Assemble the support cleat frame using wood glue and wood screws. Space the arms around 10.5″ apart. Be sure that none of your arms fall on top of where you will drill into the studs to hang the shelf. If it does, just move the arm over an inch or two one way or another. This slight adjustment will not compromise the support.
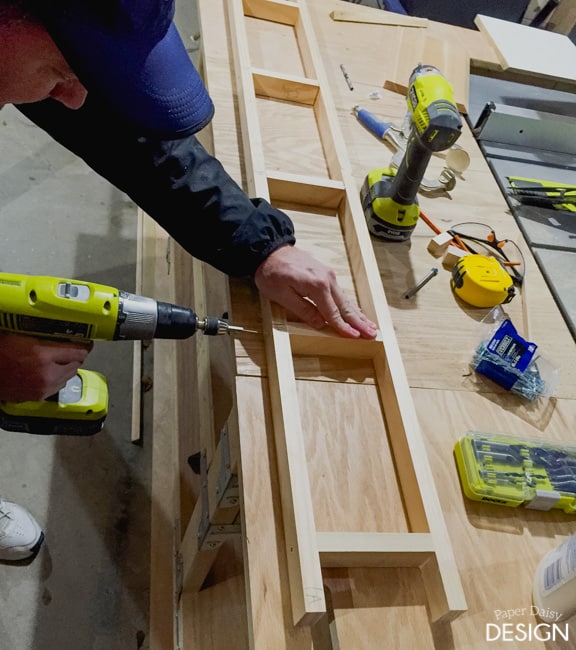
Pre-drilling the holes for the screws to attach the rungs is recommended.
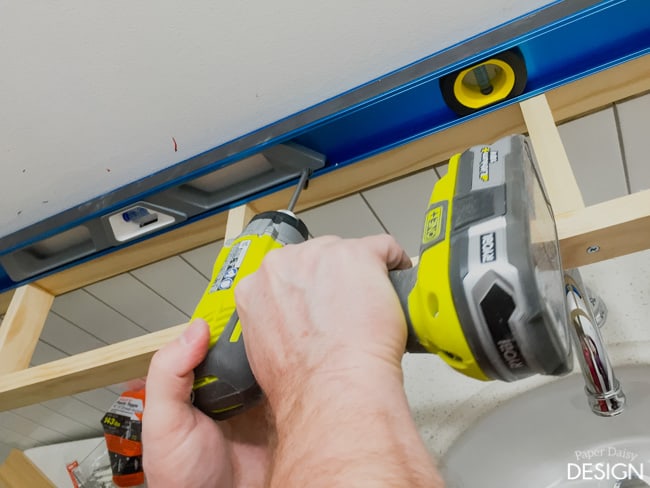
6. Mount support cleat to the wall at the previously marked stud locations with 2″ construction screws, insuring that the shelf is level
Steps for Constructing Seamless Floating Shelf
Note that on our shelf, the main concern for the hidden edge was the top and front because only these edges would be seen. If more sides of your shelf will be completely visible, I would recommend carrying your miter around all four sides and edges.
1. Cut top shelf at a 45 degree angle. For ease of measurement and handling it’s best to cut the angle first.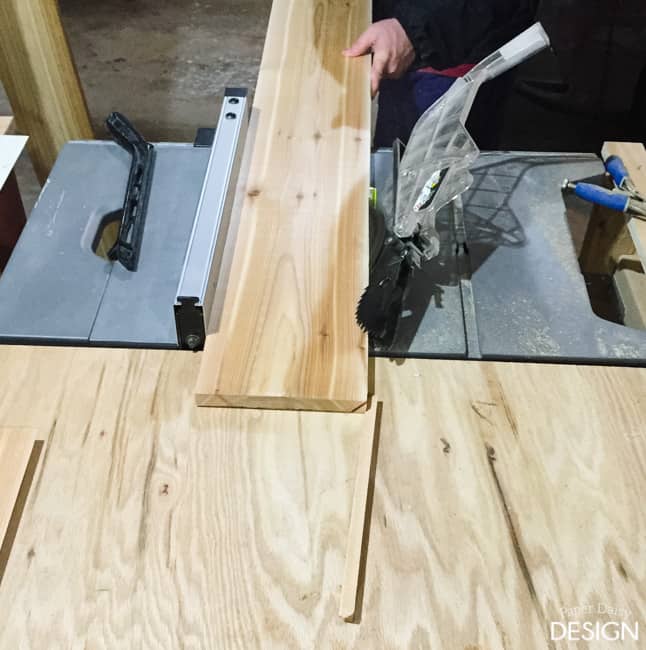
2. Flip the board around and cut to your final depth. For our shelf that was 7 1/4″.
3. Cut the 45 degree angle of your front facing board.
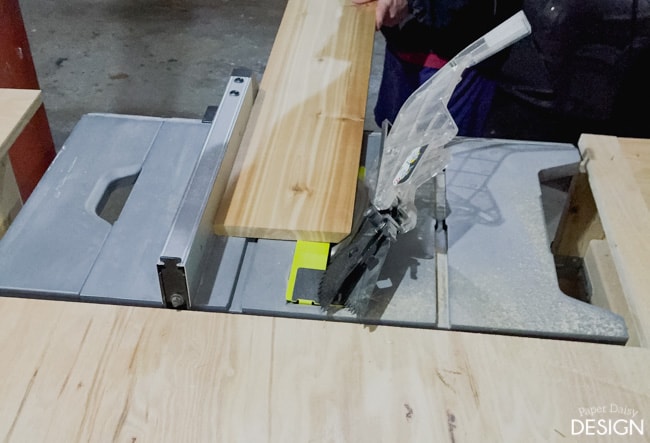
4. Flip that board around and cut to your final depth. Ours was 2 1/2″.
5. Using (2) 90 degree clamps on each end of the shelf and a brad nailer, glue and nail the top and front boards together from the top.

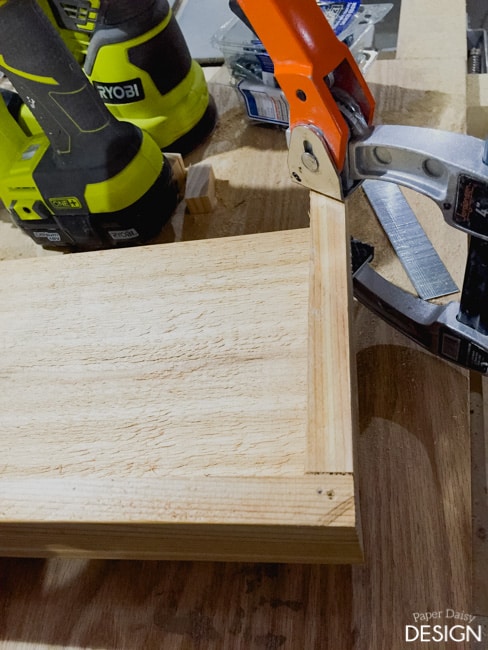
6. Cut one or two side pieces as needed. We used only one side piece that was 6 1/2″ by 2 because the other side butt up against a wall. As mentioned previously, if both sides are visible, feel free to use a miter saw to create a hidden edge on all ends of wood.
7. With a brad nailer, using a toe-nail technique, nail the side to the front. Apply wood glue where the side panel meets the top and the front. Clamp and allow wood glue to dry as necessary.
8. Cut the bottom board to the depth necessary to cover the wall cleat. We had to subtract the depth of the tile, so ours was 6.5″. We simply butt this joint, the bottom and the front, together to keep it simple. Nail and glue the two together at angle from the bottom, so that the nails are not seen from the front.
9. Fill holes with wood filler.
10. Once wood filler is dry, sand all visible edges smooth. This is a good time to smooth out the mitered edge, creating a more seamless look. To avoid over sanding the edge, use a sanding block instead of an orbital sander at the miter joint.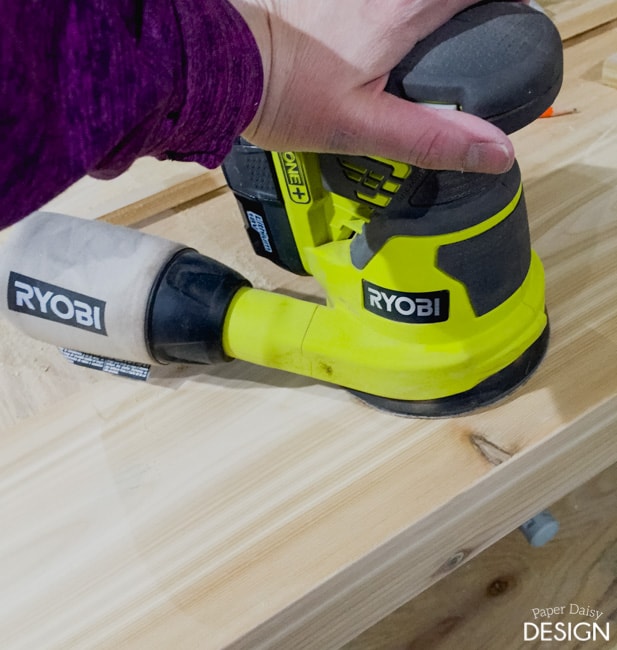
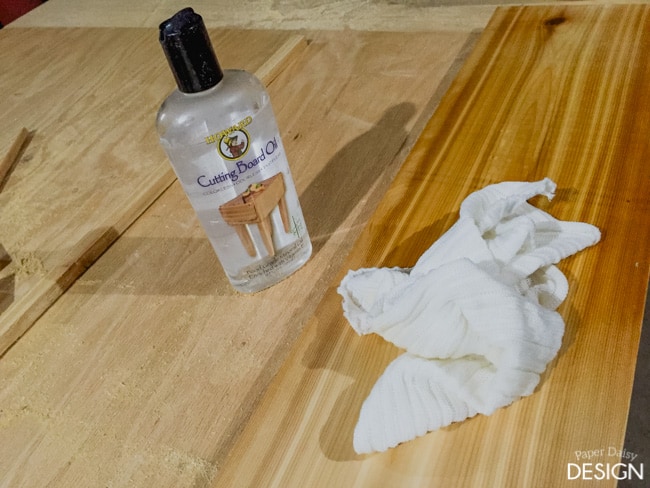
11. Apply the finish of your choice. I decided to keep the finish rather simple and natural, using cutting board oil as my finish.
And there you have it. A floating shelf with no visible butt joints.

Want to see what I made with the scraps leftover from this shelf?
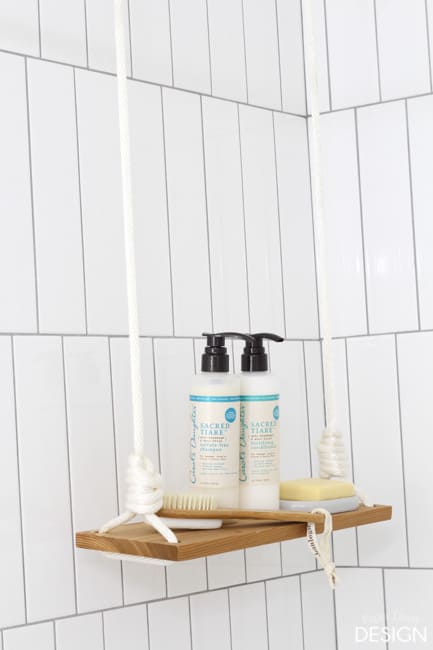
That’s right! I hung a swing shelf in her shower to hold shampoo bottles and soaps. The full tutorial, including a video on how to tie the knots can be seen here.
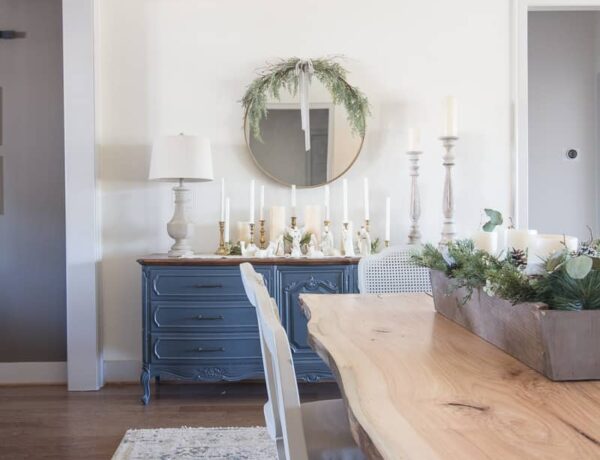
If you’d like to take a tour around the rest of this Classically Modern Bathroom, click here.


6 Comments
Jenny @ Refresh Living
February 19, 2016 at 9:16 pmThis bathroom is stunning, and that shelf is absolutely gorgeous!!
Leslie
February 20, 2016 at 10:42 amThank you Jenny! The shelf is so pretty in real life too. It’s so smooth and the wood grain is so attractive. I spent extra time hand selecting boards that I knew would be the best.
JV
May 3, 2016 at 12:11 amHello. I love the floor tiles. Where can I find them?
New Year, New Projects and Best of 2016 -
February 3, 2017 at 10:56 am[…] • Seamless Floating Shelf […]
Steele Honda
March 14, 2019 at 8:40 pmI didn’t know that select cedar has an inherent ability to remain stable in high humidity applications. My husband and I are thinking about putting floating shelves in our kitchen because I love the open look that they can give a room. We’ll have to look for cedar to use for them, and some hidden shelf support brackets and then we’ll be good to go.
Sergey
April 12, 2021 at 5:52 pmGreat article but the math for the boards does not add up. The frame to be attached to the wall was built using 1×2 which means it was 1.75” high. If you add 2 more boards to top and bottom 0.75” each then the shelf is 3.25” tall not 2.5” as in the drawings. Can you please clarify? Thanks