
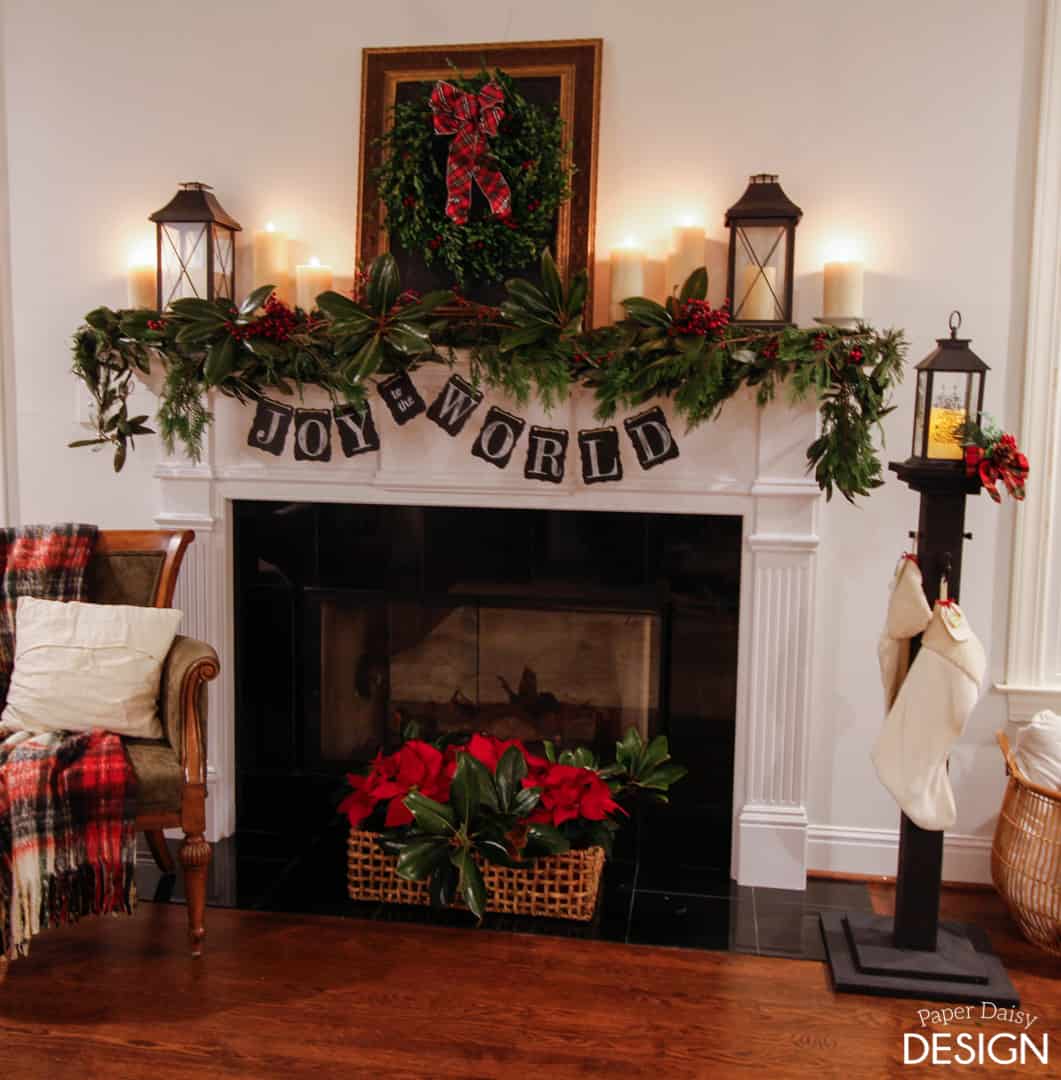
It’s nearly time to Deck the Halls and get our holiday prep in gear. This weekend I got a good little head start by building this Stocking Post and decorating our mantle.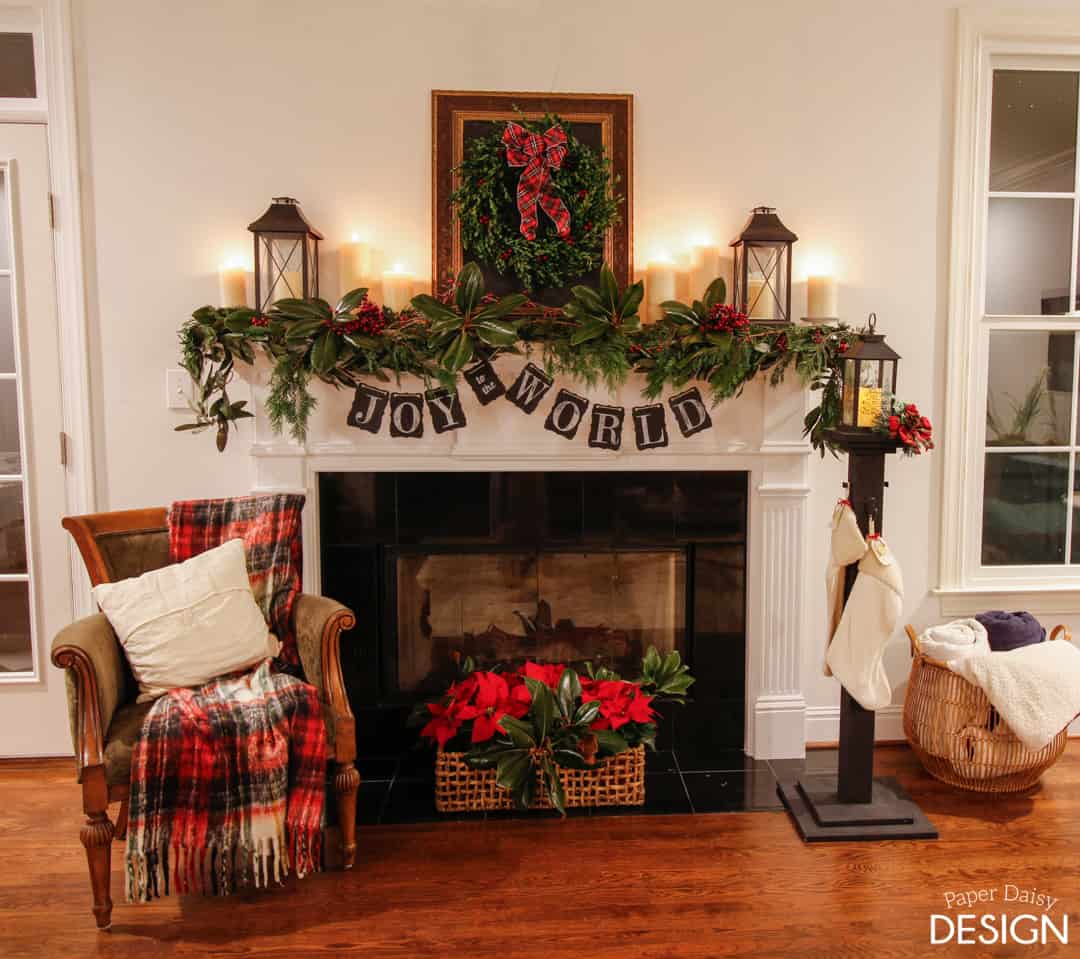 The stocking post, inspired by a DIY Workshop project at The Home Depot was a cinch to build and can easily be modified to fit your personal style and existing holiday decor.
As part of The Home Depot DIY Workshop Virtual Party, I have teamed up with a host of other talented DIY bloggers, each one sharing their own take on this adorable build.
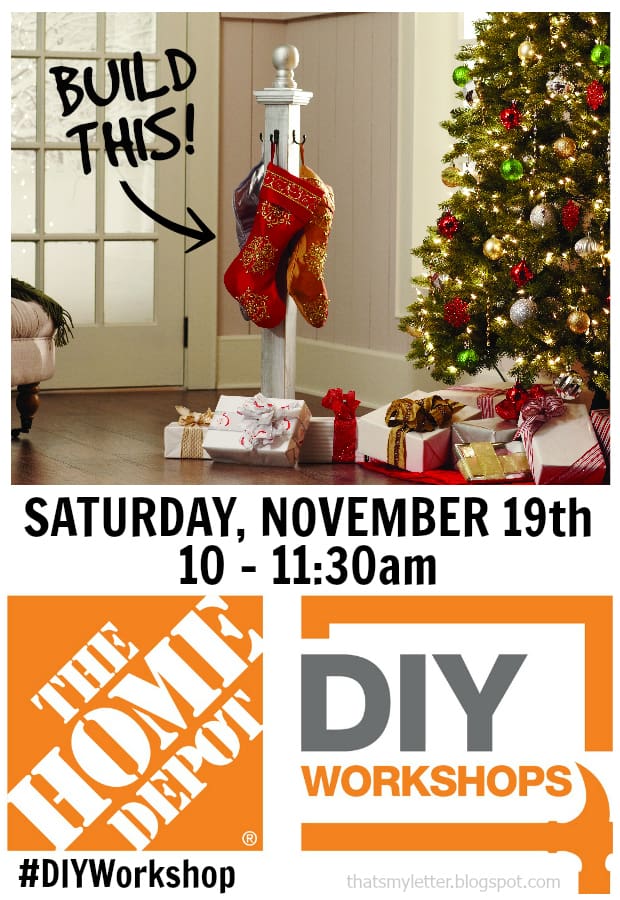
And guess what? This Saturday, November 19th they will be building the Holiday Stocking Post at your local Home Depot too!
The Home Depot offers Workshops at all of their locations for do-it-yourselfers of all ages and experience levels. There are three types of Workshops offered – Do-It- Yourself (DIY), Do-It-Herself (DIH) and Kids.
The DIY Workshops help customers can learn how to build décor projects, how to make easy home repairs and how to operate tools through demonstrations and step-by-step instructions.
You can sign up to learn this or other fun projects by clicking on the image below.

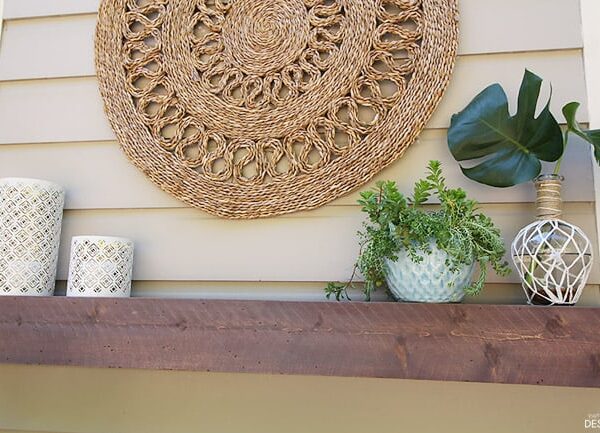
For my stocking post, I was inspired by a candlelight Christmas Eve and lanterns.
After a few years of unconventional Christmas color schemes, I was eager to return to the time-honored tradition of red and green.

Everything I needed to build the post came from my local Home Depot, of course, even the lantern!
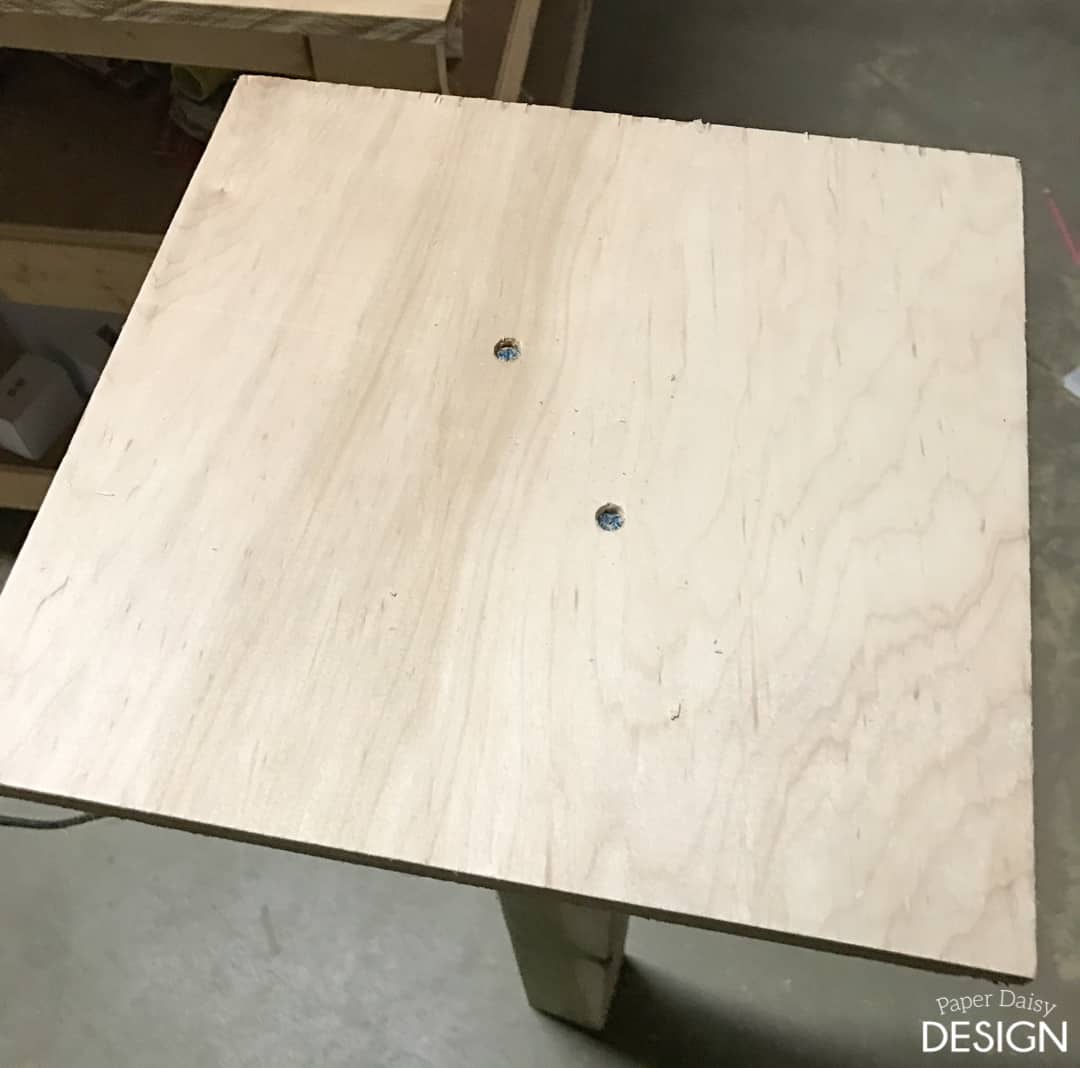
For my take on the stocking post, I added an extra base on top of the original 16×16 piece of plywood. The second layer is about 14×14 inches.

Using 2-inch wood screws, attach the base to the post. Because I had two layers of plywood, I placed 2 screws diagonal from each other and then when I attached the second layer, I placed the screws in the opposite corners.
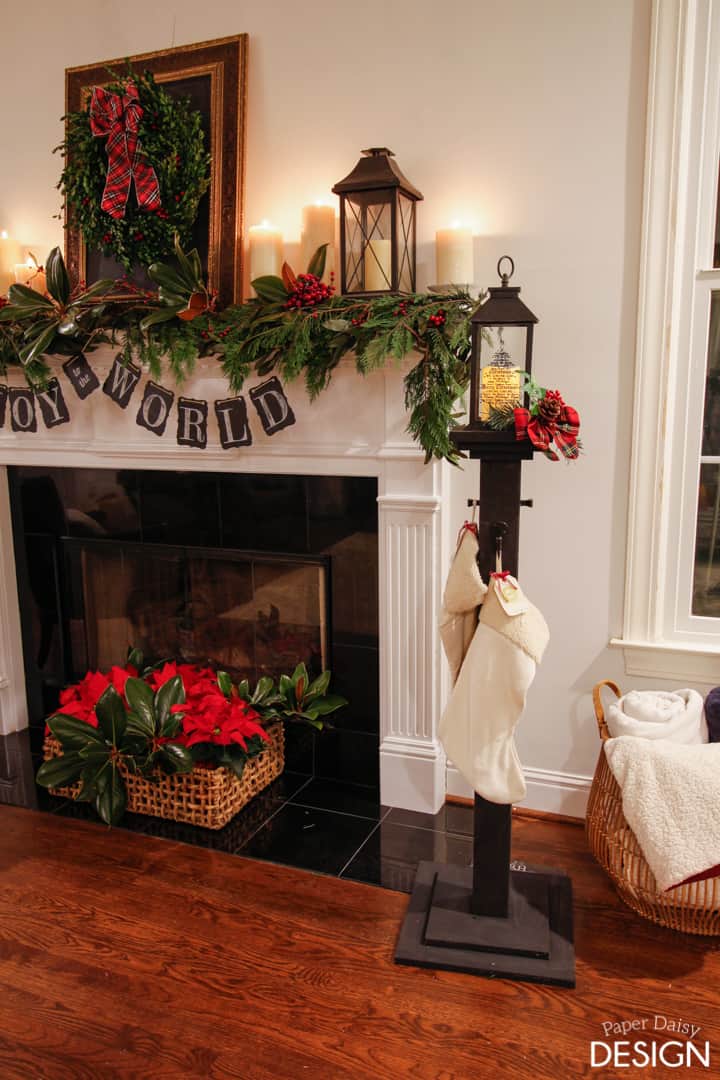
For the next modification, I eliminated the fence post cap and added three layers of scrap plywood to provide a wider support for the holiday lantern I found in the holiday decor section.
The pieces are 5, 6 1/2 and 8 inches and are layered from smallest to largest. Using the same technique as before, I alternated the screws diagonally until I just nailed the last one on top.
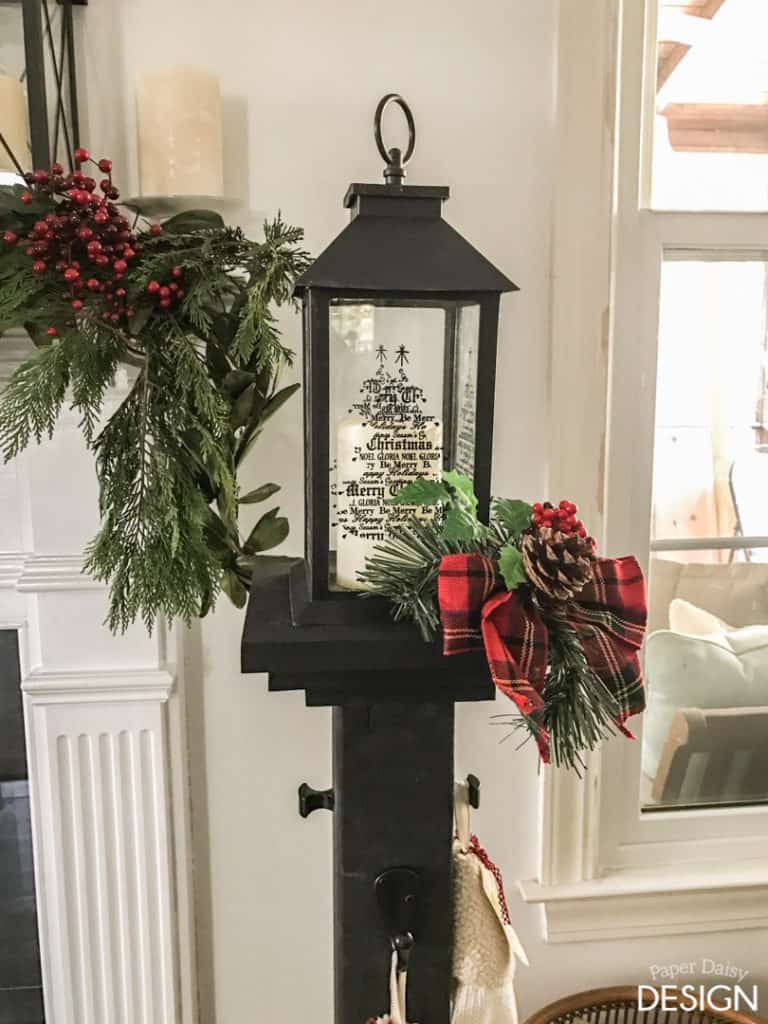
I painted all the pieces with black chalk paint to match the lantern.

I added the robe hooks as directed for the stocking post, but I also added two small knobs to the opposite sides. The robe hooks are large enough you could also use the post to hang a wreath!

I think they add to the lamp post charm, although it does require a few extra tools and pieces of hardware.
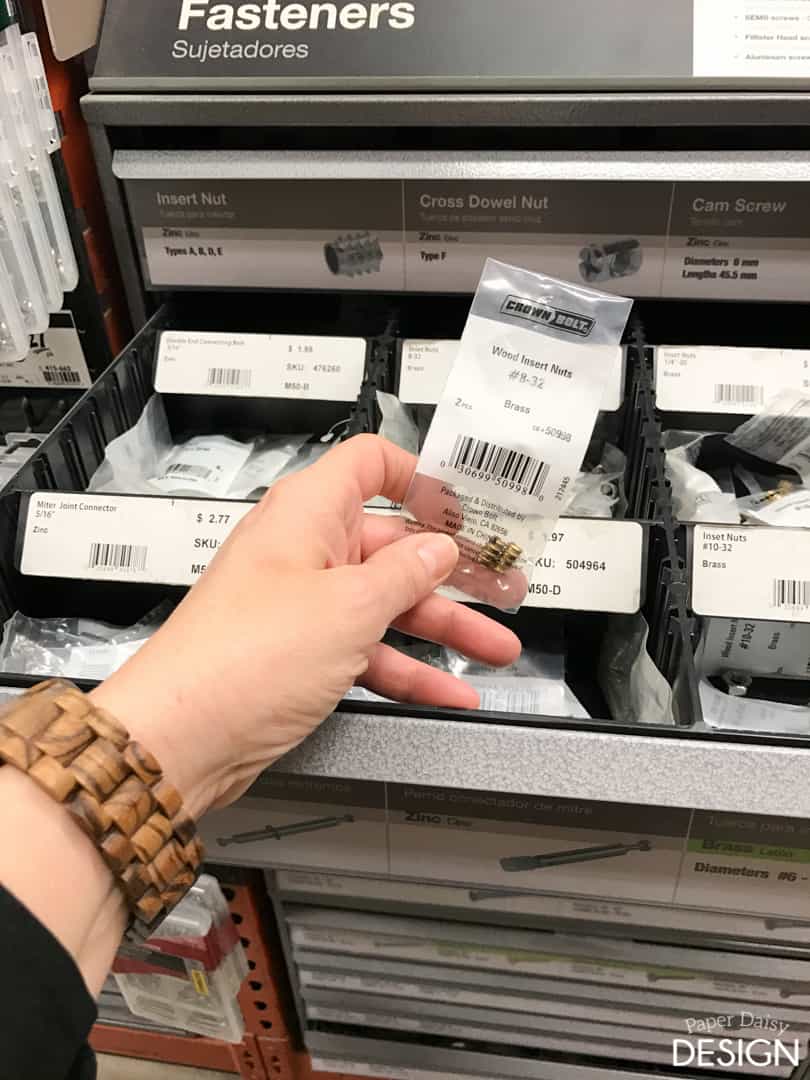
In order to add the cabinet knob to the post, you need to purchase a packet of brass inserts, #8-32. They are available at The Home Depot in the hardware isle. Feel free to ask an associate to help you find the exact piece you need.
Drill a hole on each side of the post to accept the insert.
Apply wood glue to the insert and gently screw it into the post.
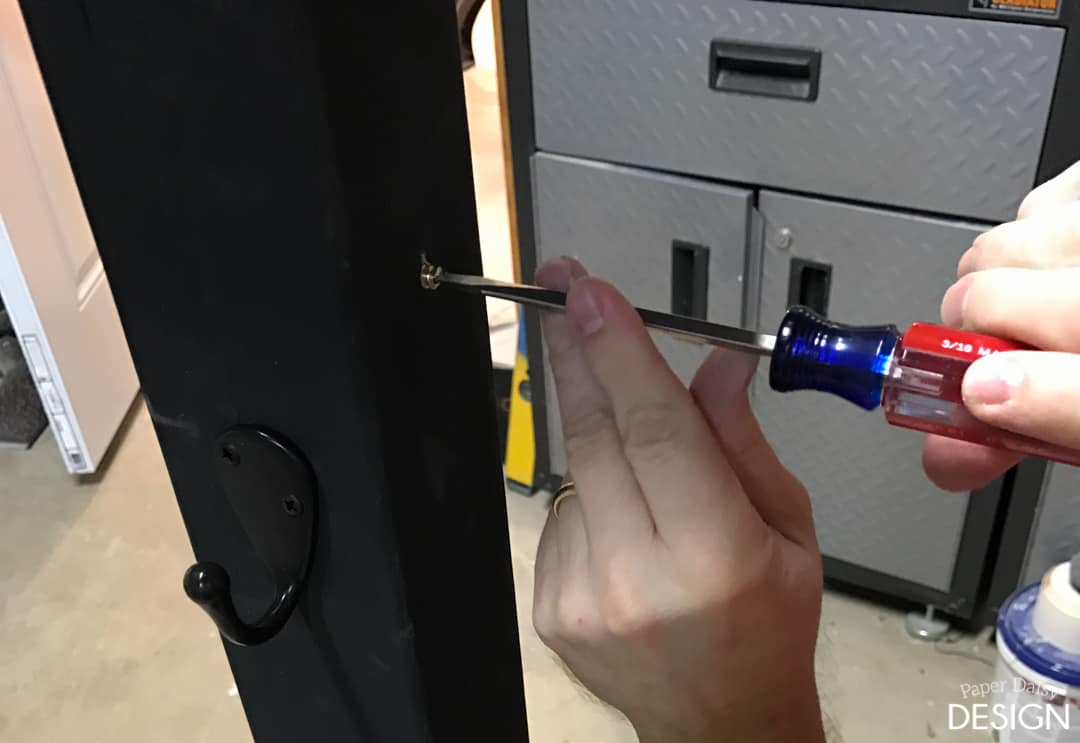
You will need to shorten the screw or purchase a smaller, double-threaded screw. We just cut them down with a hacksaw.
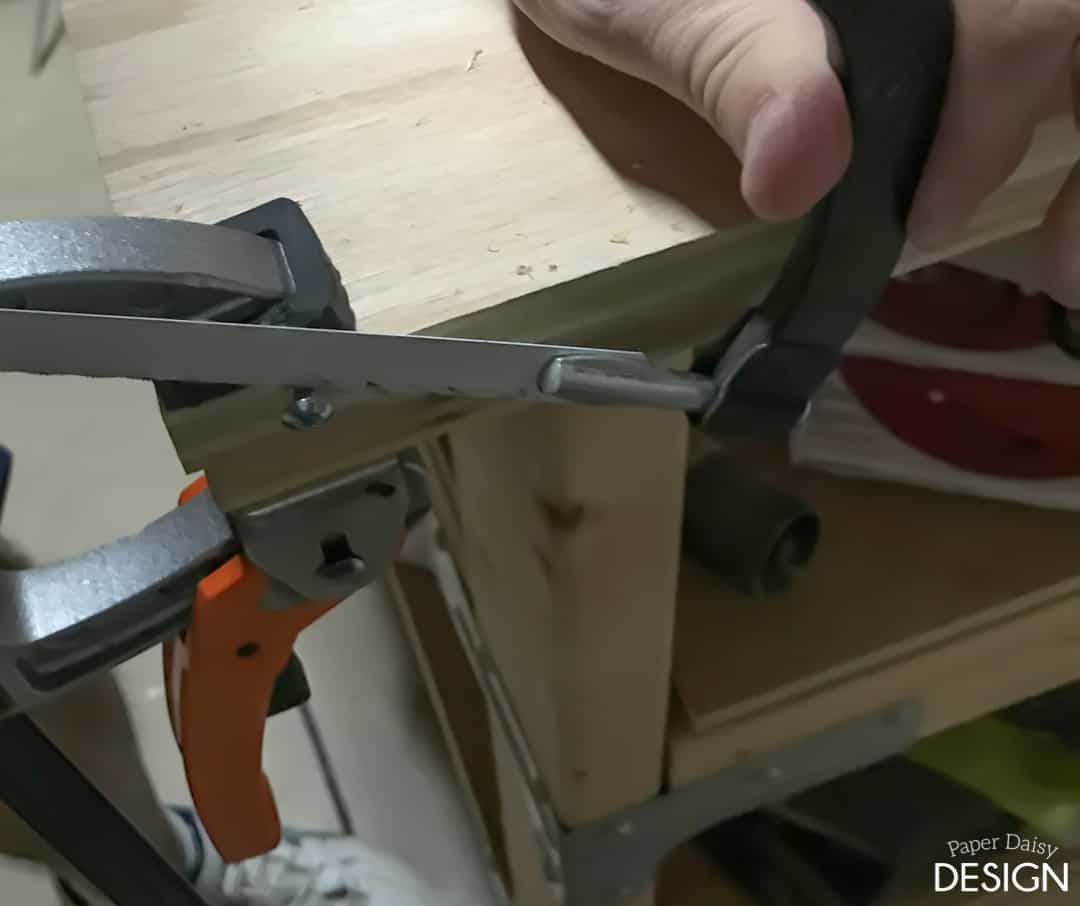
Be certain to clamp the screw to a stable surface before you begin cutting. Add the knobs to the post.
To attach the lantern to the post, I used a simple hinge. This allows you to operate the lantern and change the batteries when necessary. Pilot drill holes in the side of the lantern with a 5/64 drill bit.
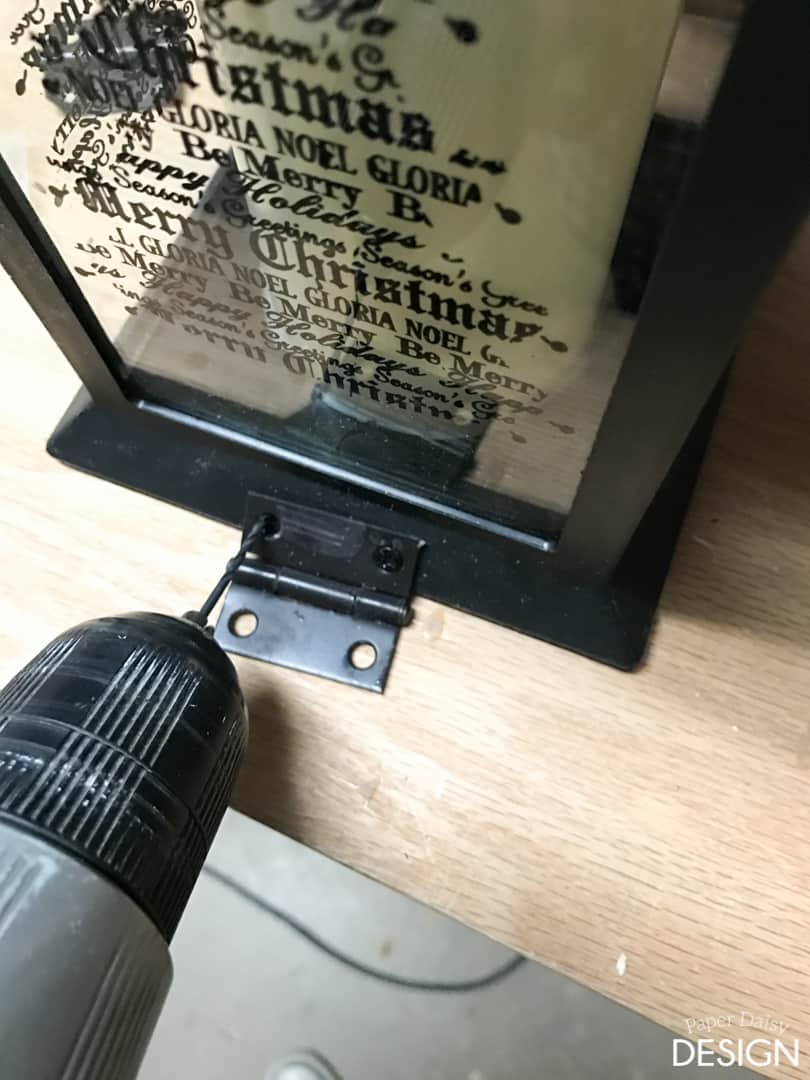
Attach the hinge with the screws provided. It might be a good idea to cover the screws on the inside with Duct tape if you have small children. The screws do extend out beyond the plastic.
Lastly, attach the hinge to the base.

I encourage you to check out the other fabulous bloggers also participating in this virtual DIY party with the links below!
But first, don’t forget to sign up to learn to build your own!
Domestic Charm | Homemade By Carmona | My Altered State
Smart Girls DIY | Chaotically Creative | Ciburbanity
Lazy Guy DIY | Build Basic | That’s My Letter | Her Toolbelt
The Handmade Home | The Heathered Nest | Designer Trapped
The Chronicles of Home | Cherished Bliss | Just a Girl and Her Blog
House of Wood | Shades of Blue Interiors | Uncookie Cutter
Ella Claire Inspired | Shine Your Light | Sawdust 2 Stitches
Remodelando La Casa | Fix This Build That
Join in the fun and the virtual party!
Facebook || Instagram || Pinterest || Twitter
And show us your DIY project by tagging #homedepot, and #DIYWorkshop.
*The Home Depot partners with bloggers such as me for DIY & DIH Workshop program. As part of this program, I received compensation for my time and supplies. They did not tell me what to purchase or what to say about any product mentioned in these posts. The Home Depot believes that consumers and bloggers are to form their own opinions and share them in their own words. The Home Depot’s policies align with WOMMA Ethics Code, FTC guidelines and social media engagement recommendations.


22 Comments
Home Depot Virtual Party – DIY Stocking Post ‹ Build Basic
November 14, 2016 at 11:37 am[…] Paper Daisy Design […]
DIY Stocking Post - Shades of Blue Interiors
November 14, 2016 at 11:48 am[…] The Chronicles of Home — Cherished Bliss — Just a Girl and Her Blog — House of Wood — Uncookie Cutter — Ella Claire Inspired — Shine Your Light Blog — Sawdust 2 Stitches — Remodelando La Casa — Paper Daisy Design […]
DIY Stocking Holder Stand: No Mantel? No Problem! | Designer Trapped
November 14, 2016 at 12:00 pm[…] Paper Daisy Design […]
How to Build a Christmas Stocking Holder
November 14, 2016 at 12:01 pm[…] Paper Daisy Design […]
DIY Christmas Stocking Post - The Chronicles of Home
November 14, 2016 at 12:01 pm[…] Uncookie Cutter Ella Claire Inspired Shine Your Light Blog Sawdust 2 Stitches Remodelando La Casa Paper Daisy Design Fix This Build […]
DIY Stocking Holder - Chaotically Creative
November 14, 2016 at 12:02 pm[…] Paper Daisy Design […]
DIY Christmas Stocking Pole - Cherished Bliss
November 14, 2016 at 12:03 pm[…] Paper Daisy Design | Fix This Build That […]
Holiday Stocking Post | The Home Depot's DIY Workshop - Shine Your Light
November 14, 2016 at 12:05 pm[…] Cutter • Ella Claire Inspired • Sawdust 2 Stitches • Remodelando La Casa • Paper Daisy Design • Fix This Build […]
DIY Stocking Hanger | Vintage Toy Christmas Tree - Ella Claire
November 14, 2016 at 12:05 pm[…] Paper Daisy Design […]
North Pole Christmas Stocking Holder
November 14, 2016 at 12:15 pm[…] My Letter / Domestic Charm / Paper Daisy Design / Smart Girls DIY / My Altered […]
DIY Stocking Holder with The Home Depot - Domestic Charm
November 14, 2016 at 12:41 pm[…] Paper Daisy Design […]
a holiday stocking post with home depot - the handmade home
November 15, 2016 at 9:16 am[…] Paper Daisy Design […]
DIY Holiday Stocking Post - Just a Girl and Her Blog
November 15, 2016 at 9:44 am[…] Paper Daisy Design […]
North Pole Stocking Post - Sawdust 2 Stitches
May 3, 2017 at 7:52 pm[…] La Casa \ Paper Daisy Design \ Fix This Build […]
Caramel Blog
June 2, 2017 at 8:58 amChristmas Build A Stocking
[…] ews, attach the base to the post. Because I had two layers of plywood, I place […]
The Home Depot: DIY Workshop Reveal | Lazy Guy Diy
June 11, 2017 at 11:29 am[…] 2 Stitches * Remodelando La Casa* Paper Daisy Design * Fix This Build That *This post has been sponsored by the Home Depot. I was compensated for […]
DIY Christmas Stocking Hanger | FixThisBuildThat
August 3, 2017 at 11:44 am[…] My Letter / My Altered State / Paper Daisy Design / Smart Girls DIY / Domestic […]
DIY Stocking Post - My Blog
September 16, 2017 at 3:28 pm[…] friends of mine to see their beautiful stocking posts! Brenna – Domestic Charm Leslie – Paper Daisy Design Liz – Smart Girls DIY Pauline – My Altered State Amazing how each blogger […]
Katie H
December 26, 2017 at 2:42 pmI loved your take on this. I tweaked it a little, and made my own this year! Thanks for the inspiration.
Leslie
January 7, 2018 at 2:54 pmAwesome!! I’m so glad you liked it! Send me a photo. I’d love to see it!
Audra @ Renewed Projects
December 29, 2018 at 9:57 amExcellent tutorial on how you anchored the lantern to the post top. And I love the script you put on the lantern window. Beautiful project! Pinning.
Leslie
January 1, 2019 at 9:35 amThank you! It was a fun build and easy too!!